
Upgrading the storage on a PlayStation 5 can transform the gaming experience. With the increasing size of game files, players often find themselves running out of space just when they need it most. Installing an SSD not only expands storage but also enhances load times, making for a smoother gameplay experience.
Many gamers are eager to dive into the world of faster loading and improved performance. However, the installation process can seem daunting at first. With the right guidance, anyone can successfully add an SSD to their PS5 and enjoy the benefits it brings. This article will walk through the steps needed to upgrade storage, ensuring a hassle-free installation that maximizes the console’s potential.
Overview of PS5 SSD Installation
Installing an SSD in a PlayStation 5 enhances storage and boosts performance. The process, while straightforward, requires specific steps to ensure success.
Required Tools and Materials
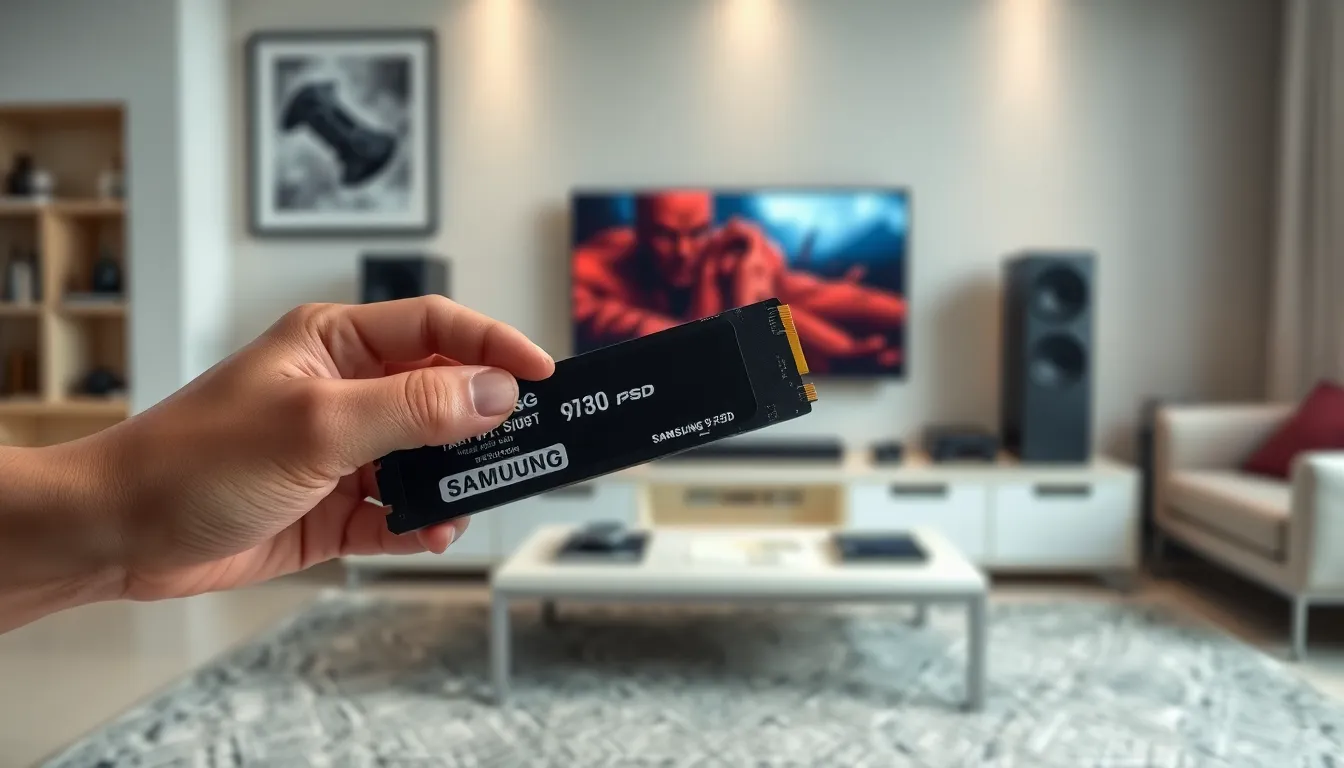
- Compatible SSD: Select an SSD that meets the PS5 specifications, including NVMe SSD and PCIe Gen 4 interface.
- Screwdriver: A Phillips-head screwdriver is essential for accessing the PS5 panels.
- Anti-static bag: Use a static-free environment to protect components during installation.
Installation Steps
- Power off the PS5: Ensure the console is completely powered down and unplugged from the outlet.
- Remove the side panel: Gently slide the panel off, following the manufacturer’s instructions to prevent damage.
- Locate the M.2 slot: Identify the M.2 bay, typically found near the cooling system.
- Install the SSD: Insert the SSD into the M.2 slot at a 30-degree angle, then secure it with the provided screw.
- Replace the panel: Reattach the side panel, ensuring it clicks back into place securely.
- Initialize the SSD: Power on the PS5 and navigate to settings to format the SSD for use.
Troubleshooting Common Issues
- SSD not detected: Remind users to recheck the SSD connection and compatibility.
- Formatting errors: Suggest reformatting the SSD via the PS5 settings.
- Overheating: Advise checking for proper installation and airflow around the SSD.
Through these systematic steps, gamers can confidently upgrade their PS5 storage, optimizing for both performance and capacity.
Compatibility Requirements
Understanding compatibility is crucial before installing an SSD in a PS5. Specific criteria exist to ensure that the upgrade is both successful and effective.
Supported SSD Models
PS5 supports M.2 NVMe SSDs that meet certain specifications. The key requirements include:
- Form Factor: SSDs must be 2230, 2242, 2260, 2280, or 22110.
- Interface: SSDs must utilize PCIe Gen4.
- Capacity: The range must be between 250 GB and 4 TB.
- Read Speed: Minimum read speed of 5,500 MB/s is recommended.
Examples of compatible SSD models include the Samsung 980 Pro, Western Digital Black SN850, and Seagate FireCuda 530.
Required Tools for Installation
Several tools facilitate a smooth installation process. Gamers need the following:
- Compatible NVMe SSD: Ensure it’s among the supported models.
- Phillips-head screwdriver: For removing the PS5 cover and securing the SSD.
- Anti-static bag: Protects the SSD from electrostatic discharge during handling.
Having these tools ready simplifies the installation process and helps prevent potential damage to components.
Step-by-Step Installation Process
Upgrading the PS5 with an SSD can vastly improve storage and performance. Follow these steps for a successful installation.
Preparing Your PS5
- Power Off: Completely shut down the PS5 by holding the power button and waiting for the second beep.
- Unplug the Console: Disconnect all cables, including power, HDMI, and peripherals.
- Gather Tools: Ensure access to a Phillips-head screwdriver and an anti-static bag to safely handle the SSD.
- Find a Clean Workspace: Select a flat, static-free surface to prevent damage during installation.
Installing the SSD
- Remove the PS5 Cover: Slide the PS5’s outer cover off, starting from the top while applying gentle pressure.
- Locate the SSD Bay: Identify the metal cover that protects the M.2 SSD slot and unscrew it using the Phillips-head screwdriver.
- Insert the SSD: Align the SSD with the connector and insert it at a slight angle until fully seated. Secure it with the provided screw.
- Reattach the Metal Cover: Place the metal cover back on the SSD slot and tighten the screw to secure it.
Formatting the SSD
- Power On the PS5: Reconnect the power and other cables, then turn on the console.
- Access Settings: Navigate to “Settings,” select “Storage,” then choose “M.2 SSD Storage.”
- Format the SSD: Follow the on-screen prompts to format the SSD, which ensures it works properly with the system.
- Confirm Completion: Once the format is complete, the SSD will become available for game installations and data storage.
Troubleshooting Common Issues
SSD Detection Problems
- Check compatibility; ensure the SSD meets PS5 specifications.
- Reseat the SSD; remove and reinstall it securely in the slot.
- Verify the console firmware; ensure the latest version is installed.
Formatting Errors
- Double-check formatting steps; follow the on-screen prompts carefully.
- Reformat the SSD if it’s not recognized; access the settings menu to repeat the process.
- Inspect the SSD for damage; physical defects may hinder formatting.
Overheating Issues
- Ensure proper installation; confirm the SSD is seated correctly for airflow.
- Maintain ventilation; keep the PS5 in an open area with adequate cooling.
- Limit intensive gaming sessions; extended play can cause excessive heat.
- Review installation guide; revisit each step for accuracy.
- Use appropriate tools; verify the screwdriver fits the screws used in the PS5.
- Inspect workspace conditions; avoid static and ensure cleanliness to prevent hardware damage.
Upgrading the storage on a PS5 with an SSD is a game-changer for any serious gamer. It not only alleviates storage constraints but also enhances overall performance and load times. The installation process may seem daunting at first, but with the right tools and guidance, it becomes manageable.
By following the outlined steps and understanding compatibility requirements, anyone can successfully install an SSD and enjoy a seamless gaming experience. Troubleshooting tips further ensure that any potential issues are swiftly resolved, allowing players to focus on what they love most—gaming. Embracing this upgrade is a smart move for maximizing the PS5’s capabilities.